How to repaint kitchen cabinets
If your kitchen currently lacks personality or you want to shift to a stylish modern kitchen, painting a kitchen cabinet is one of the best and cheapest ways for your vision to materialize. Just note that painting kitchen cabinets may incur a higher cost if it is not done correctly. To prevent this from happening,
May 13, 2022 · 13 min min read
A step-by-step guide to help your kitchen achieve a “new” look without spending too much!
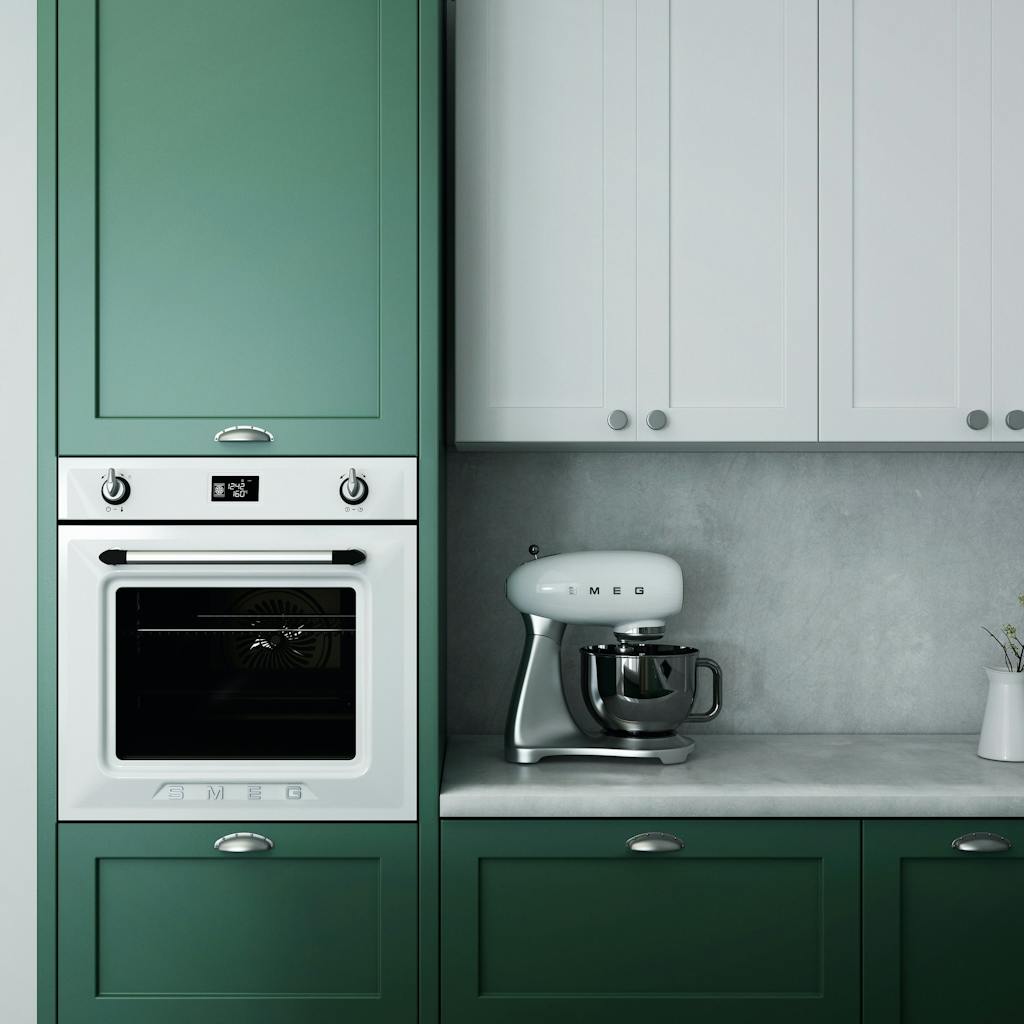
Photo by Kam Idris on Unsplash
In Spring 2022, Redfin found that “new kitchen” is part of the valuable home features and designs with the highest sale-to-list ratio in the United States. Getting a “new kitchen” may sometimes be too costly, especially for those who still have well-functioning kitchen cabinets, and for this reason, some may simply drop the idea of getting a new one. However, the easiest way for those who still want a new look for their kitchen would be to bring a game-changing dose of color to the kitchen, starting with the cabinets.
If your kitchen lacks personality or you want to shift to a stylish modern kitchen, painting a kitchen cabinet is one of the best and cheapest ways for your vision to materialize. Just note that painting kitchen cabinets may incur a higher cost if not done correctly. To prevent this from happening, Parasol properties have prepared a step-by-step process on how to paint kitchen cabinets. It is always good to be prepared and knowledgeable by learning how professionals do it, so without further ado, here are the steps you need to know how to paint kitchen cabinets properly.
Step 1: Inspect your kitchen cabinet’s condition.
Can your kitchen cabinet accommodate a makeover? The answer to this question will be known once you have taken out everything inside it and inspected each part.
How’s its condition? Is it warped, chipped, or damaged? If so, painting it might not be the best choice for your kitchen revamp plan.
Avoid failing to recognize the condition of your kitchen cabinet and save money. Have your kitchen cabinet painted only if it can accommodate the makeover you have in mind.
Step 2: Prepare your surrounding, materials, and the cabinet
If the cabinet is in good shape, the next step is to prepare everything you will use–the place, materials, and of course, the kitchen cabinet.
- Place
Protect your kitchen floor and everything else in your kitchen. Tape a drop cloth or use a newspaper or another protector over the countertops and the surrounding work area before painting. - Materials
Use the best materials available. Select the equipment that you are most comfortable with. For most non-professional painters, using a spray gun is highly recommended because utilizing a paintbrush on a cabinet usually leaves unwanted brush marks behind. If you still prefer a paintbrush, get a premium Benjamin Moore nylon or polyester brush.
In terms of paints and primer, we recommend purchasing directly from any Sherwin-Williams or Benjamin Moore store if you’re from Clearwater, Dunedin, Lutz, Safety Harbor, Tampa, and Tarpon Springs. These brands also have partnered with many more stores, making them more accessible and available for everyone. - Cabinet
Pull out the cabinets carefully and remove the doors off the hinges. Don’t forget to label each kitchen cabinet that has been taken out, so you know where to return them.
Once the cabinets are taken out, clean them gently with a grease remover. Use a damp sponge to wipe the cabinets and let them dry for a while.
Step 3: Sanding
Before fully starting the painting process, ensure that the cabinets are not too smooth or glossy by sanding them with a 100-220 grit sandpaper. Making the cabinet a little rough can help the primer application easier.
Before priming, vacuum the cabinet and the whole workspace to ensure no dust settles in the paint or primer.
Step 4: Priming
The first step to priming your kitchen cabinets is knowing what type of primer you will apply. If you have wooden cabinets, Benjamin Moore recommends ADVANCE Primer (K790) because this has excellent adhesion that provides the proper foundation for any ADVANCE finish. For laminate cabinets, the store recommends Fresh Start® High-Hiding All Purpose Primer (K046).
Once the primer was applied, let it dry for at least 24 hours before sanding it again.
Step 5: Sanding - second round
As we stated a while ago, sanding is vital in ensuring the smoothness of the final coating. That is the reason why sanding will be done until the last layer.
To start the second round of sanding, ensure that the primer is completely dry. Sand all surfaces using 220-grit paper or a sanding block. Focus on areas that may have drips or pools until the surface is as even as possible so you can smoothly paint your kitchen cabinets. Once done, don’t forget the last step in sanding–ensuring that no dust will settle in the paint using a vacuum cleaner or a damp cloth.
Step 6: Painting - first-round
Once the cabinet is cleaned and dried after sanding, prepare the materials you’ve gotten and apply the first coat of paint using your preferred equipment carefully. Upon painting cabinet doors or other similar large surfaces, you may opt to use a foam or microfiber paint roller instead of a brush or spray gun to save time. Let the paint dry completely before proceeding to the next step.
Step 7: Sanding - last round
The way this is done is just the same as steps 3 and 5.
Step 8: Painting - last round
The way this is done is also the same as step 6. Just like how you did every step with complete care and excellence, do this step with an equal goal–complete and smooth coverage for all surfaces.
Step 9: Drying and reinstalling the kitchen cabinets back
Dry your paint for at least 24 hours or longer. The longer, the better to ensure durability and easier reinstallation. Once your kitchen cabinets are fully dry, don’t forget to put back the hardware you initially took out. Make sure you clean the area where you will reinstall your kitchen cabinets. Once done, carefully return the kitchen cabinets back into place and test their stability to ensure everyone’s safety. Clean the whole kitchen afterward.
Repainting kitchen cabinets require knowledge, skill, and patience to ensure the success of your kitchen revamp plan. If you think you’re not yet ready for this but want to spruce up your tired kitchen with freshly painted cabinets, we highly recommend seeking painting service providers.
Getting professional help might be a little costly, but this is better if you’re not yet confident. The service of professional painters often costs around $1,000, which might get higher or lower depending on the size of your kitchen, the location of your home, and other factors. If you’re from Clearwater, Dunedin, Lutz, Safety Harbor, Tampa, and Tarpon Springs, asking for the help of certified single-family home constructors from the area will provide you with higher quality painted cabinets due to their connection with credible painters with proven expertise and access to professional-grade products.
Share this article
Last updated on Jul 17, 2026